E-Glide SS ebike assembly instructions

Set Ebike box upright, remove strapping, cut open along top edge.
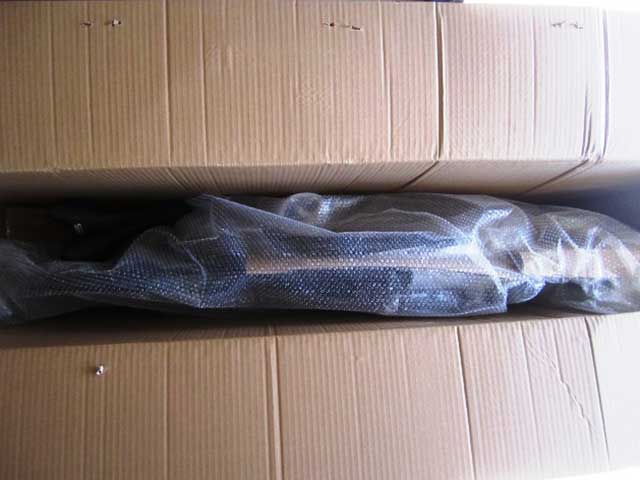
Open box to expose bike, being careful of sharp staples.

Remove bike from box

Inside the triangular shaped box you will find your pedals, a pedal wrench, and charger.
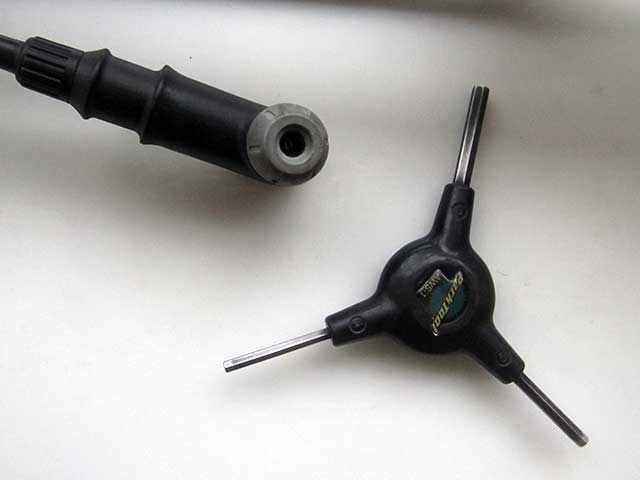
You will also need a 4mm and 5mm allen wrench, and a bicycle pump with a Presta valve attachment.

Cut the zip ties and remove plastic wrapping

Remove battery lock keys and place in a safe place. You will need these keys if you want to remove the battery from the frame.

Place bike upright, resting on front fork, and insert seat post.
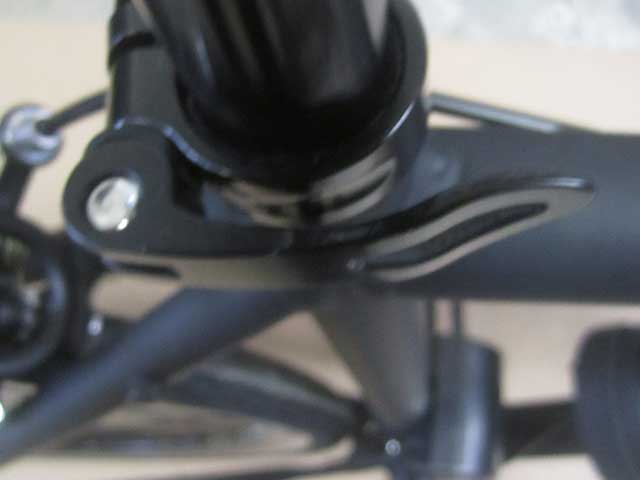
Tighten seat quick release.

Remove four handlebar mount allenheads with No. 4 allen wrench
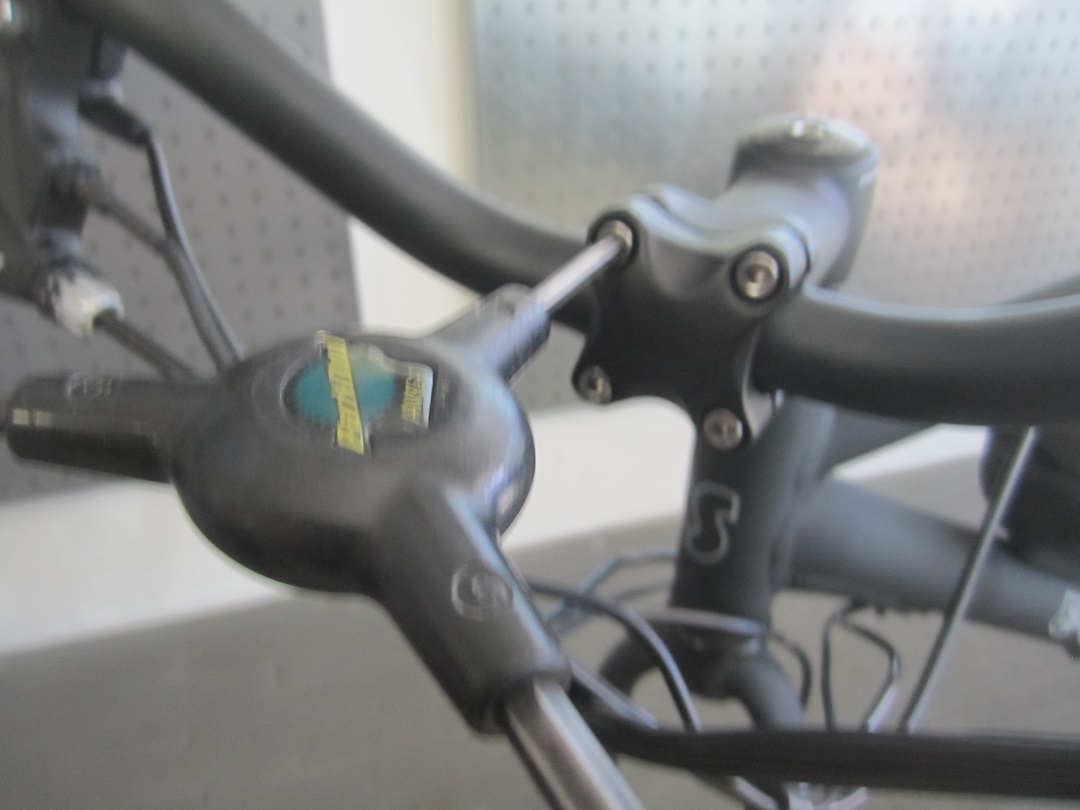
Install the handlebars, tighten only snugly, you will make final adjustment after.
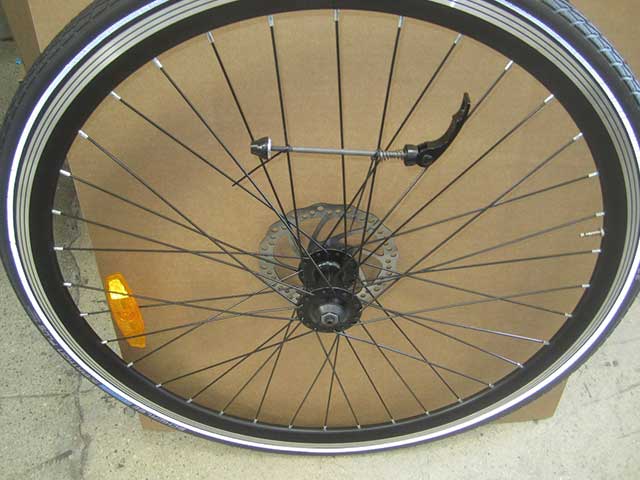
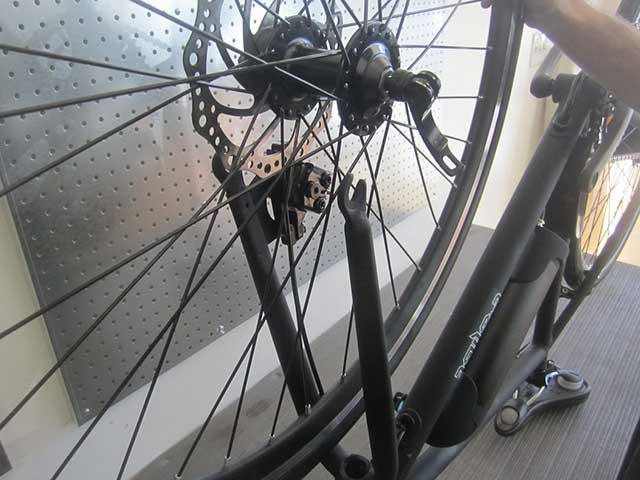
Locate the quick release on the front wheel and remove
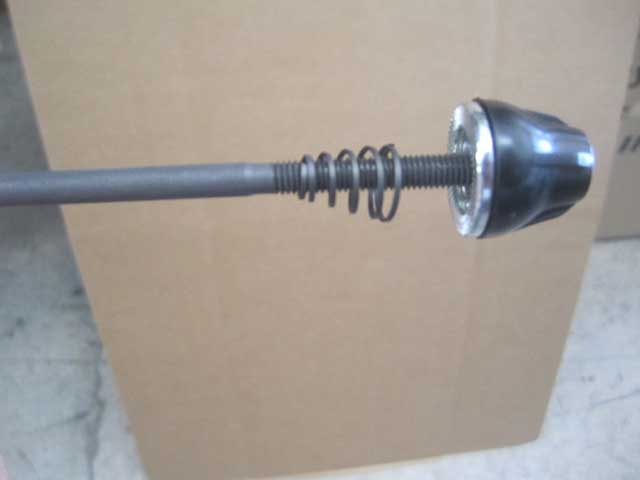
Remove locknut and spring,
Slide quick release through axle, replace spring and locknut on shaft.
Turn locknut only a few turns so it’s loose for easy wheel installation.
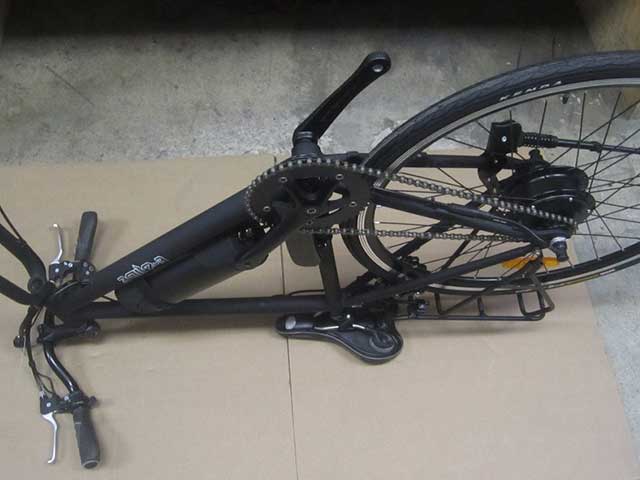
Turn bike upside down
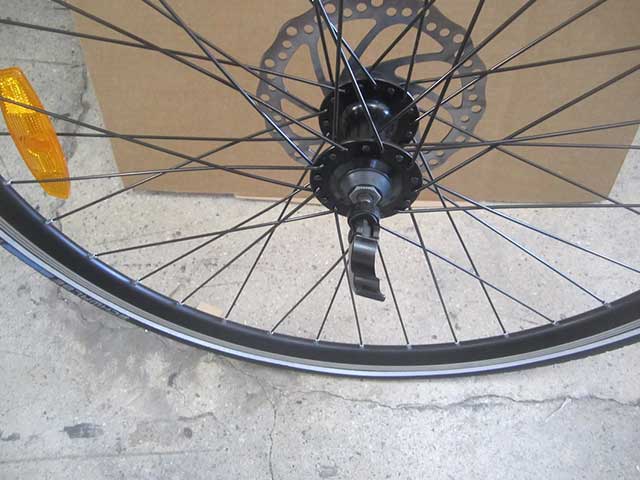
Gently insert wheel into fork

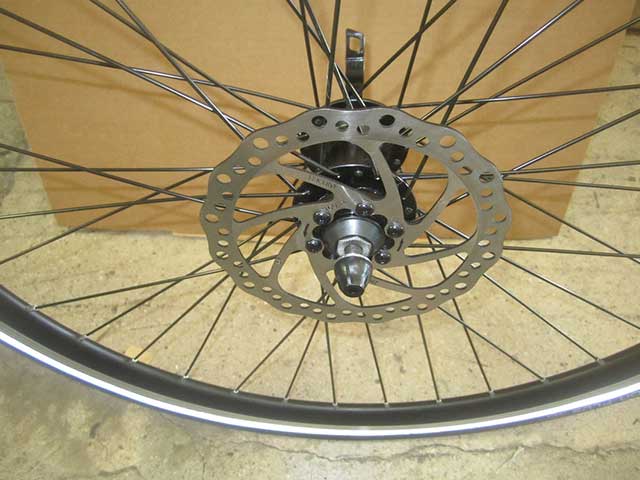
Carefully slide the disc brake rotor into the disc brake pads. Make sure wheel is on fork as far as it will go.
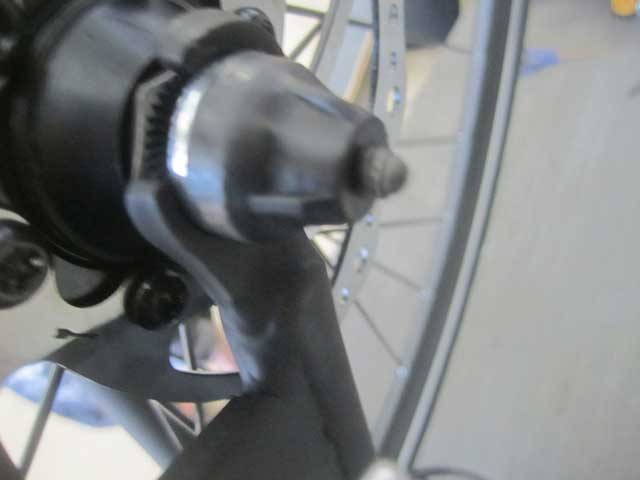
Tighten the locknut, until the quick release fully tightens the axle onto the fork. You want the quick release to close snugly, but you don’t want to overtighten it. You don’t want to have to “muscle” the quick release to close it, should close firmly, but without excessive force.

Spin the wheel. Your brake has been adjusted prior to shipment, and should be aligned perfectly.

Adjust handlebars to comfortable position, and tighten allen heads snugly with a No. 4 allenhead wrench. Tighten in a X pattern.

The pedals are marked L for left side and R for right side

Install the left pedal, and tighten COUNTER CLOCKWISE. Install the right pedal, tighten CLOCKWISE.

You need a pump with a Presta valve connection. Inflate the tires to 65 PSI. If you're running Schwable's, you can inflate them to 85 PSI for maximum flat free efficiency.

Your battery has an on/off switch, - is on, o is off. The battery can be kept in the on position, no need to switch it off, unless storing the bike for a period of time.
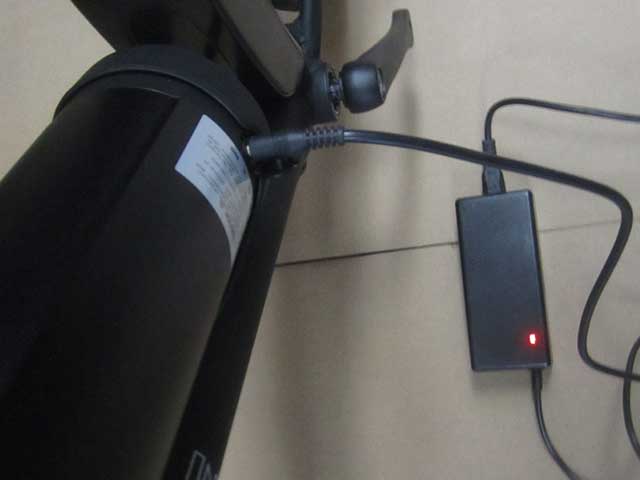
Plug the charger into the battery, then into the wall outlet. You can charge your battery on or off the bike. The charger will turn green when fully charged.

If you remove your battery from your bike, you need to unscrew the connection

Turn on bike by depressing power button
Information
E-Glide was established in 2004 and is the oldest electric skateboard manufacturer in the US. With 13 years of direct sales and customer support under our belt in the electric bike and powerboard industry, it is well known that we offer world class service. We can be reached by phone anytime M-F 9-5 PST for questions, sales, or customer support.
Address
E-Glide
2801 Ocean Park Blvd. #303
Santa Monica, CA 90405
CALL NOW! 1-310-396-1453